How to Cook Tender & Juicy Pork Chops in the Oven
What if I told you that I could guarantee perfectly cooked, perfectly tender pork chops, every time? Would you believe me? Or have too many dinners of overcooked shoe-leather pork chops turned you off from this easy addition to the weeknight meal rotation? Let me convince you to try them one more time. Let me convince you to try roasting your pork chops in the oven.
Here is our step-by-step recipe for perfectly cooked, perfectly juicy pork chops.
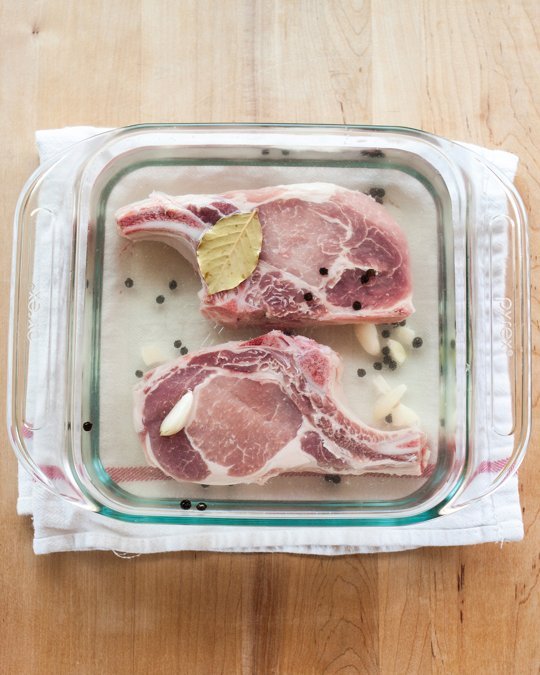
A Quick Brine
Brining the pork chops is one of the best ways way to guarantee a juicy cooked pork chop. Even a quick 30-minute brine (or up to 4 hours) makes a big difference.
It’s not strictly necessary — you can still use this method to make great pork chops even without brining — but if you have some extra time, I recommend it. Brining actually changes the cell structure within the meat, resulting in a noticeably juicier chop. The salt brine also seasons the interior of the meat. It won’t taste “salty,” just well-seasoned. You can even add other seasonings like garlic, peppercorns, fresh herbs, and lemon to the brine for more flavor. If you fear bland pork chops, definitely give brining a try.

Stovetop to Oven
Pork chops are a tender, quick-cooking cut of meat — so quick-cooking, in fact, that they’re very easy to overcook. This is why I like to start the chops on the stovetop where they get a good sear and then transfer them to the oven to finish cooking. The gentle heat of the oven helps us to control the rate of cooking a little better and also prevents the outside from getting tough and dry before the middle has finished cooking.
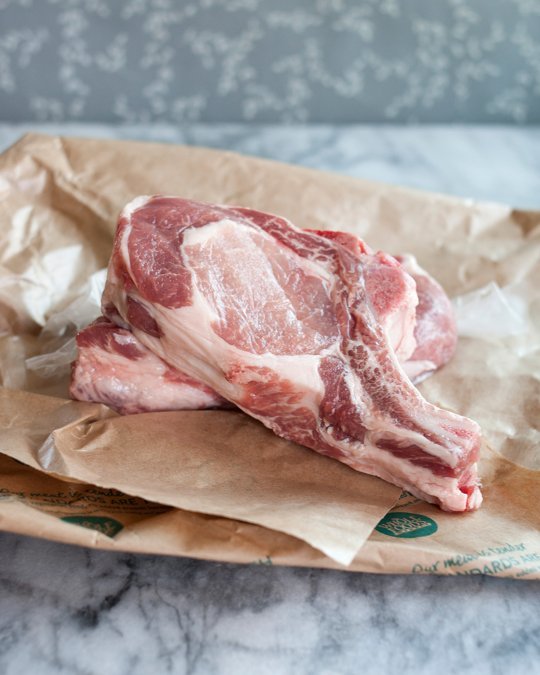
Bone-On Pork Chops
I encourage you to look for bone-on pork chops. They take a little longer to cook than boneless chops, but in my experience, they are another way of ensuring tender cooked pork chops. And by “a littler longer to cook,” I’m really only talking about a few minutes. It won’t make a huge difference to your meal prep!
You can also make this whole process of cooking pork chops easier by using just one pan. Heat up the skillet in the oven while you get the rest of the meal prepped, then transfer it — carefully! — to a stove top burner to sear the pork chops. Once the chops are golden on the underside, you flip them and transfer the skillet back to the oven. The residual heat from the skillet will sear the other side of the pork chops while the heat of the oven cooks them through.
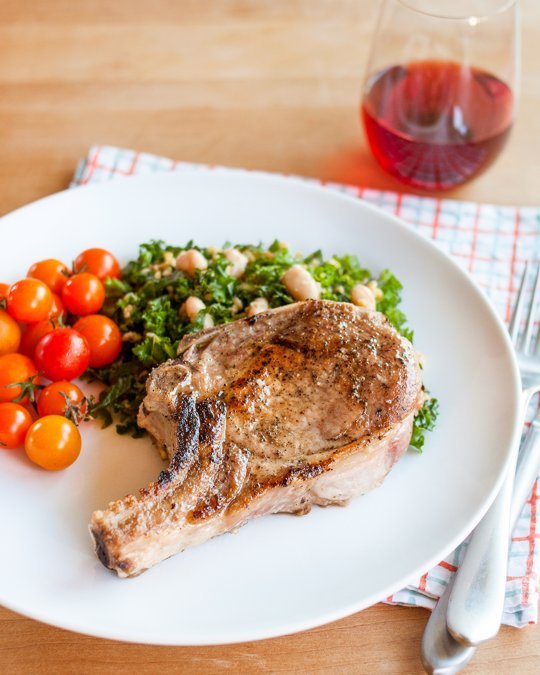
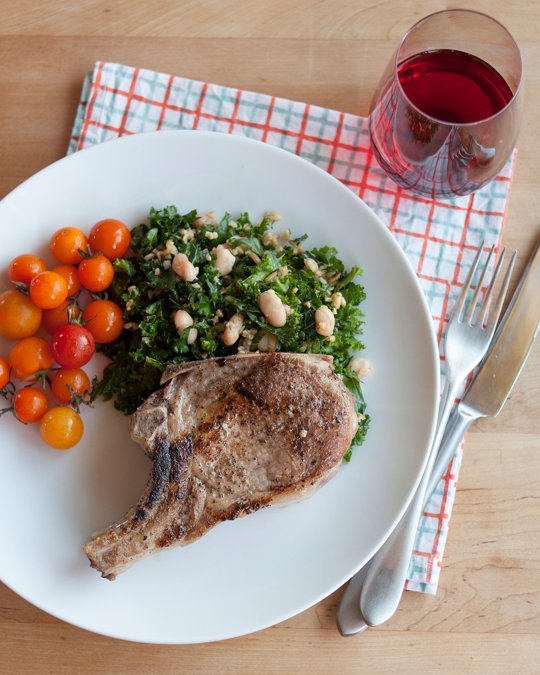
The result is a perfectly cooked pork chop: one that’s golden and crusted on the outside and perfectly tender and juicy in the middle. Every time. Serve it with a simple side salad, roasted vegetables, or rice pilaf for an easy and quick weeknight meal.
What You Need
Ingredients
For the brine (optional):
3 cups cold water, divided
3 tablespoons coarse kosher salt (or 2 1/2 tablespoons table salt)
Optional flavorings: 2 smashed garlic cloves, 1/2 teaspoon black peppercorns, 1 bay leaf
For the pork chops:
2 to 4 pork chops — center cut, bone-on, 3/4-inch to 1-inch thick (about 1 pound each) Olive oil
Salt
Pepper
Equipment
Shallow dish (for brining)
Large cast iron, stainless steel, or other oven-safe skillet
Tongs
Instructions
Buy 2-4 pork chops — center cut, bone-on, 3/4-inch to 1-inch thick (about 1 pound each)
Brine the pork chops with aromatics (optional).
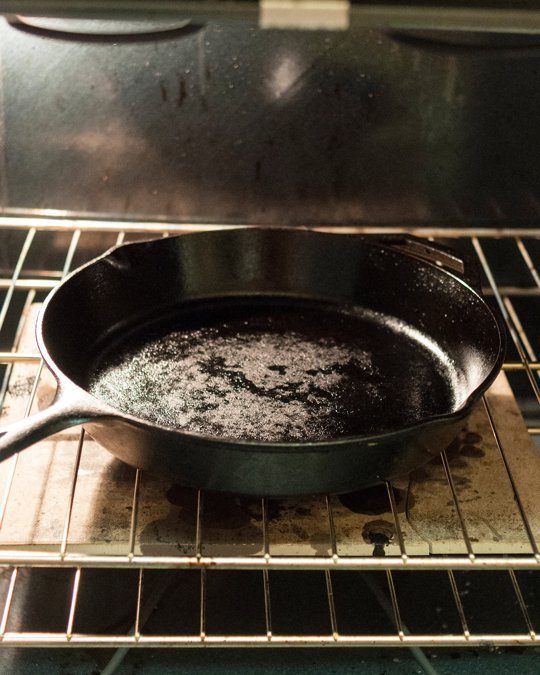
Position a rack in the middle of the oven and preheat to 400°F. Place the skillet in the oven to preheat as well.
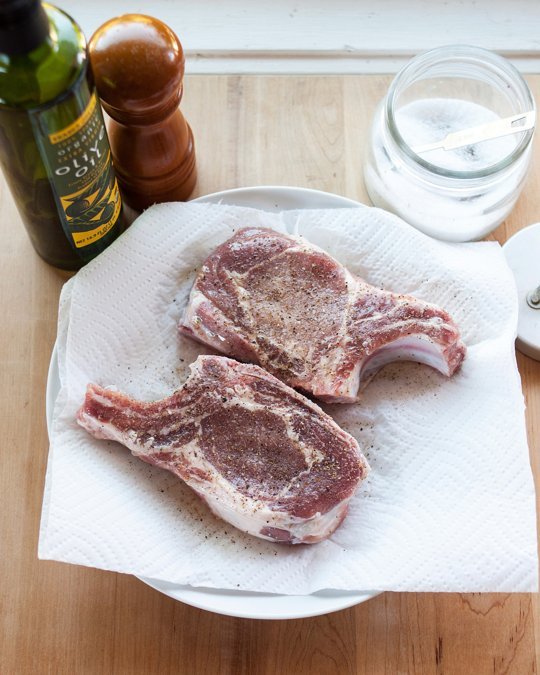
Remove the chops from the brine; if you didn’t brine, remove the chops from their packaging. Pat dry with paper towels. Rub both sides with olive oil, then sprinkle with salt and pepper.

Using oven mitts, carefully remove the hot skillet from the oven and set it over medium-high heat on the stovetop. Lay the pork chops in the hot skillet. You should hear them immediately begin to sizzle. Sear until the undersides of the chops are seared golden, 3 minutes.

Use tongs to flip the pork chops to the other side. Immediately transfer the skillet to the oven using oven mitts.
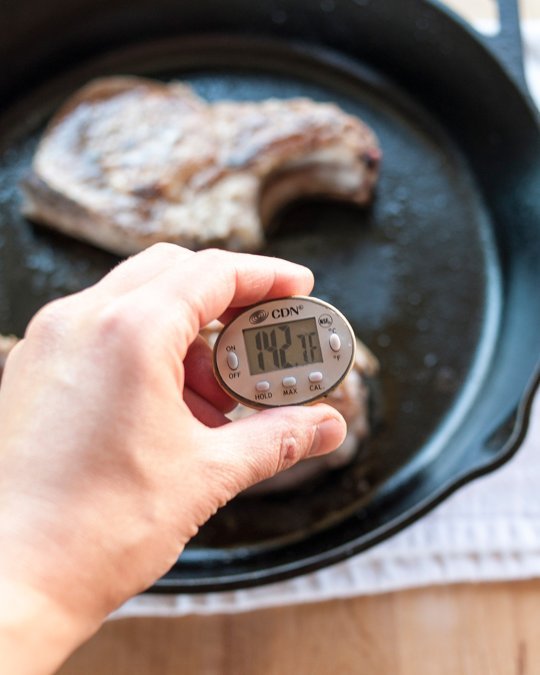
Roast until the pork chops are cooked through and register 140°F to 145°F in the thickest part of the meat with an instant-read thermometer, 6 to 10 minutes.
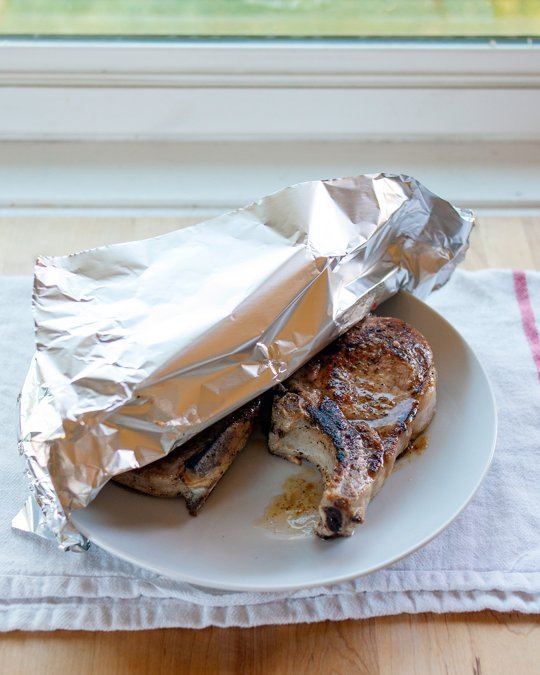
Transfer the cooked pork chops to a plate and pour any pan juices over the top (or reserve for making a pan sauce or gravy). Tent loosely with foil and let the chops rest for at least 5 minutes before serving.
(source)